Brief Guide to Electric Soldering
Soldering is a technical skill to learn. It involves precision, patience and accuracy. Event the tiniest details can make a huge impact in the results. The electric soldering process can be tricky as well as a little dangerous at times as well. Following are some precautions you need to go through first before starting the process.
- Ensure the safe placement of the soldering iron and never leave it unattended. Place it on heat proof surface/materials e.g. ceramic tiles.
- Because of extremely high temperature of the soldering iron, avoid contact of skin, plastic, and cloth with the iron.
- Wearing eye protection while soldering is extremely important to avoid sparking in eyes.
- Sometimes, soldering gives of dangerous fumes which can affect your health. Ensure the area that you are working in is well ventilated or wear a mask.
Preparatory Measures
Try working on a heat-proof surface for this process. Ceramic tiles might cost you a lot, so some samples from the DIY store may be helpful. Use a fresh tip for soldering iron and choose the right size. Before you turn the soldering iron on, make sure it is placed safely. Make sure the tip of your soldering iron is tinned. Tinning is the process where tin coat is spread over materials. Tinning the tip of into the solder can prevent oxidization to a large extent. Once the solder is hot, touch the tip properly. Clean excess solder off and repeat the process till tip of iron becomes shiny.
Perfecting the Solder Joint
For best results, your soldering tip needs to be adjusted at the ideal temperature. The tip of the soldering iron is to be in contact with the copper area of the hole that your component is attached to. This will heat both up. Remember not to apply solder directly or straight away after heating. Touch the soldering iron into the copper surround and pin it for a second. Repeat this with your other hand as well. When you are going to feed in the solder, you should do this at the point where the soldering iron touches not only the copper surround but the pin also.
After you have added enough solder, you can remove the solder except for the soldering iron. This iron is to be held up in position for a second or two to let the solder flow into the solder joint you are working on. Skipping this step might cause your process to fail, as it will make the solder joint blobby and will not produce effective results.
Finishing Touches for the Process
Although the process of electric smoldering is technically complete, there are a few edges you need to round off. Try clipping the legs of the joints, it will give a professional impression over all. Examples of clipped components are LEDs, resistors etc. Removal of residue of the flux also enhances the visual of your circuit board. Just the last spray finish of IPA can clean off all residues to create the ideal board.
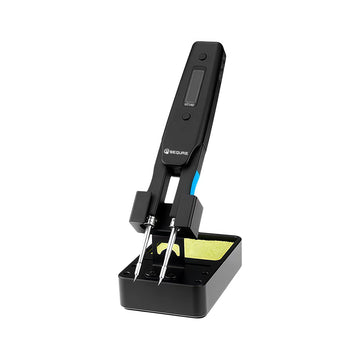
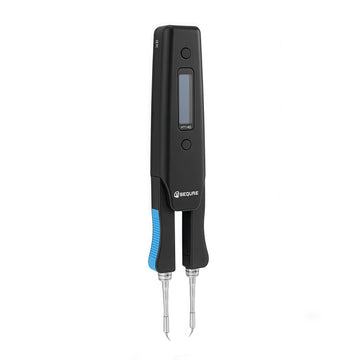
Professional tools that make soldering easier. Choose different power according to different work contents:
Dear Customer/DIYer
Thank you very much for your support and hope you have a happy and interesting shopping experience. We are very welcome to the majority of customers and friends to participate in our DIY interesting articles sharing activities.
Share & Cash Back
The number of words is more than 300 words, have exquisite picture in the article. Send us your article. After check your article and it pass through, we will cashback the amount of 5-8 dollars according to the quality of the articles.
Welcome to contact this email (info@sequremall.com) and send us the articles for checking.


