DIY 48V electric bike battery pack with 18650 lithium battery.
What is 18650 lithium battery?
18650 is the originator of lithium-ion batteries - a standard lithium-ion battery model set by SONY in Japan in order to save costs. 18 represents a diameter of 18mm, 65 represents a length of 65mm, and 0 represents a cylindrical battery

Noramlly 18650 batteries are divided into lithium-ion batteries and lithium iron phosphate batteries. The nominal voltage of the lithium ion battery is 3.7v, the charging cut-off voltage is 4.2v, the nominal voltage of the lithium iron phosphate battery is 3.2V, the charging cut-off voltage is 3.6v, the capacity is usually 1200mAh-3000mAh, and the common capacity is 2200mAh-2600mAh .
It is the same for lithium batteries marked 3.7V or 4.2V. It's just that each manufacturer's label is different. 3.7V refers to the platform voltage (typical voltage) when the battery is discharged during use, and 4.2V refers to the voltage when the battery is fully charged. Common rechargeable 18650 lithium batteries, the voltage is marked 3.6 or 3.7v, when fully charged is 4.2v, this has nothing to do with the power (capacity). The mainstream capacity of 18650 batteries ranges from 1800mAh to 2600mAh, (the capacity of 18650 power batteries is mostly 2200~3600mAh). It is generally believed that if the no-load voltage of the lithium battery is lower than 3.0V, it is considered to be exhausted (the specific value depends on the threshold value of the battery protection board, such as lower than 2.8V and 3.2V). Most lithium batteries cannot be discharged with no-load voltage below 3.2V, otherwise excessive discharge will damage the battery (generally, lithium batteries on the market are basically used with a protection board, so excessive discharge will lead to the protection board can not detect the battery, so that the battery can not be charged). 4.2V is the maximum limit voltage for battery charging. It is generally believed that the lithium battery is fully charged when the no-load voltage is charged to 4.2V. In the process of battery charging, the battery voltage gradually rises from 3.7V to 4.2V. Lithium battery charging cannot charge the no-load voltage above 4.2V, otherwise the battery will be damaged. This is the special feature of lithium batteries.
Buy a large box of 18650 batteries

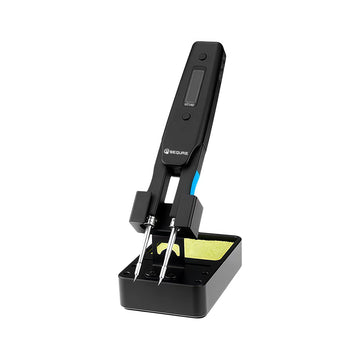
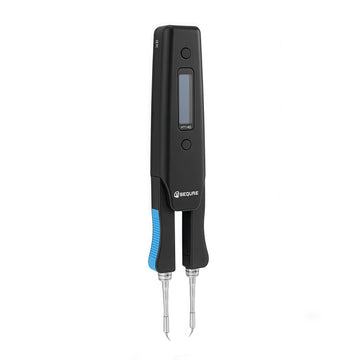
Prepare a spot welder, this is sequre SW1 spot welder

Make a nickel plate, which is used to connect the battery electrodes.
(Nickel sheets need to be cut in two lengths)

Use a special fixture to locate the battery and arrange the batteries

Weld the nickel sheet with the same electrode of the battery so that the batteries are connected in parallel. Only increase the capacity without increasing the voltage.

Every 7 in parallel, completely manual spot welding, this is the most space-saving arrangement.

Two two arranged in positive and negative directions. Use barley to directly insulate the battery row.

Each line of battery should be separated with highland barley paper to prevent skin damage resulting in short circuit. The voltage of the battery pack welded in series is multiplied by 13 times, 3.7v multiple by 13 is equal to 48.1v.
You can see the highland barley paper in the middle of two lines of battery.

The other side.

Secure the entire battery pack with duct tape and use a heat-resistant one as much as possible.

Cover the top and bottom with highland barley paper and fix it, mainly for insulation.

Fix the battery management protection module.

Handle the cable of the protection board, and separate the crossed cables with tape to avoid the risk of short circuit.

Cut off all the extra cable

Solder the wire to nickel plate

The protection board will heat up, so need to use two layers of 3M double-sided tape to separate the protection board.

Processing the positive and negative poles of input (use red copper sheet)


The exposed part of the copper sheet is wired to silica gel wire.

Strengthen the package.

The negative connection in the picture is in the lower left corner, and the positive connection is in the upper right corner. The diagonal design allows the current to be distributed as evenly as possible on each battery.

Then wrap it with duct tape again


At last, wrapped with the heat shrink tube.


Dear Customer/DIYer
Thank you very much for your support and hope you have a happy and interesting shopping experience. We are very welcome to the majority of customers and friends to participate in our DIY interesting articles sharing activities.
Share & Cash Back
The number of words is more than 300 words, have exquisite picture in the article. Send us your article. After check your article and it pass through, we will cashback the amount of 5-8 dollars according to the quality of the articles.
Welcome to contact this email (info@sequremall.com) and send us the articles for checking.


