Common faults and analysis of soldering iron
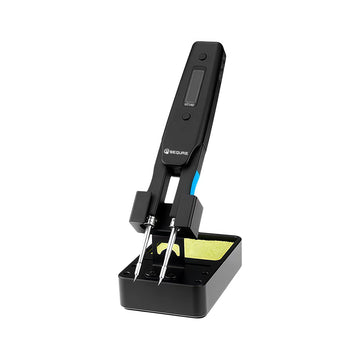
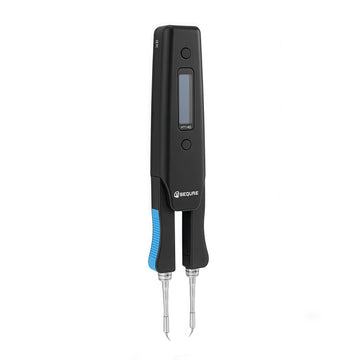
Common faults and analysis of soldering iron
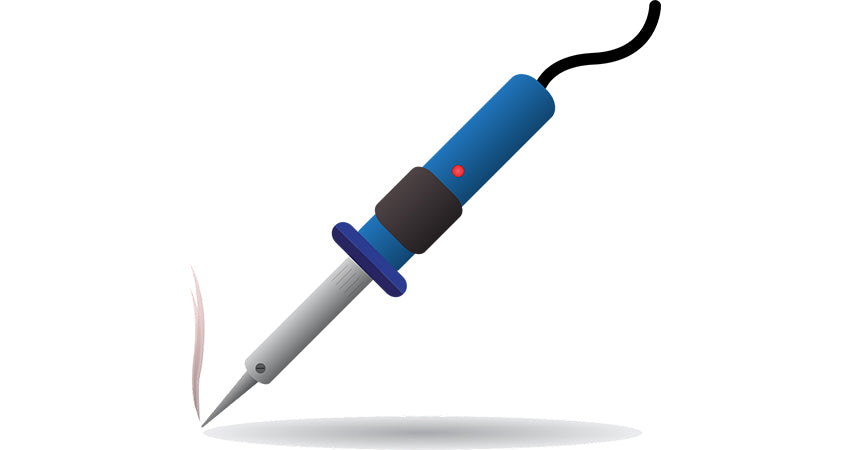
Indicator light of heater is not on:
- Is the fuse blown?
- Is the wire or connecting plug loose?
- Is there a short circuit inside the soldering iron
- Does the grounding spring touch the heating element
- Whether the heating element leads are twisted and short circuited
Soldering iron head is not stained with solder:
- Is the temperature of the soldering iron tip too high?
- Has the soldering iron tip been cleaned?
The heater indicator is on but the soldering iron tip is intermittent or not heating up:
- Is the soldering iron wire damaged?
- Is the heating element damaged?
The temperature of the soldering iron tip is too low:
- Does the soldering iron tip derive oxides?
- Is the soldering iron calibrated correctly?
The tip of the soldering iron cannot be removed:
- Is the soldering iron tip clamped tightly?
- Is the soldering iron tip trapped in rust and swelling?
Warning: Turn off the power before repairing, otherwise electric shock may occur; if the wire is damaged, please ask the manufacturer or maintenance service agent or similar qualified person to repair it.
Broken soldering iron wire
Two methods for testing soldering iron wires:
method one:
Move the handle sheath from the direction of the wire and loosen the screws that fasten the heating element
Twist and remove the nut counterclockwise
Remove the soldering iron tip
Towards the soldering iron head, remove the heating element and wire from the handle
Method Two:
Turn on the power supply of the soldering iron, set the temperature to 370±10℃, shake and entangle all parts of the soldering iron wire, if the LCD indicator of the heater flashes, replace the wire
Test the resistance value between the soldering iron plug pin and the wire of the terminal board. The resistance value should be 0 ohm. When it is greater than 0 ohm infinity, the wire should be replaced
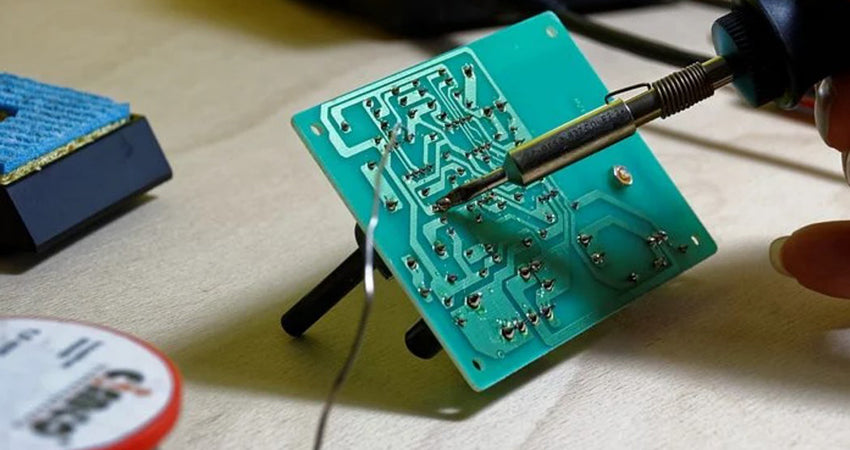
Damaged heating element:
- Turn the screw cap counterclockwise and take out the soldering iron tip
- Twist the socket counterclockwise and pull out the socket from the soldering iron
- Remove the heating element and wires from the handle
- Pull out the ground spring from the D-shaped sleeve
Dear Customer/DIYer
Thank you very much for your support and hope you have a happy and interesting shopping experience. We are very welcome to the majority of customers and friends to participate in our DIY interesting articles sharing activities.
Share & Cash Back
The number of words is more than 300 words, have exquisite picture in the article. Send us your article. After check your article and it pass through, we will cashback the amount of 5-8 dollars according to the quality of the articles.
Welcome to contact this email (info@sequremall.com) and send us the articles for checking.


